Resin Driveway Installation Process Explained: A Step-by-Step Guide
Understanding the resin driveway installation process is crucial when considering a resin driveway for your home. This guide will walk you through the critical steps in creating a beautiful, durable, permeable driveway surface.
Step 1: Resin Driveway Preparation
The foundation of a successful resin-bound driveway process lies in proper preparation. This involves:
- Assessing the existing surface
- Removing any old coverings or vegetation
- Ensuring proper drainage
Professional resin driveway laying begins with thorough resin driveway base preparation. This may involve excavating the area and laying a new sub-base if required.
Step 2: Priming the Surface
Before the central resin-bound surface installation, a primer is applied to the prepared base. This ensures strong adhesion between the base and the resin-bound layer.
Step 3: Resin Bound Aggregate Mixing
The next step in the driveway resin application process involves mixing the resin with the chosen aggregate. This critical stage requires precise measurements and thorough mixing to ensure a consistent blend.
Step 4: Laying the Resin Bound Surface
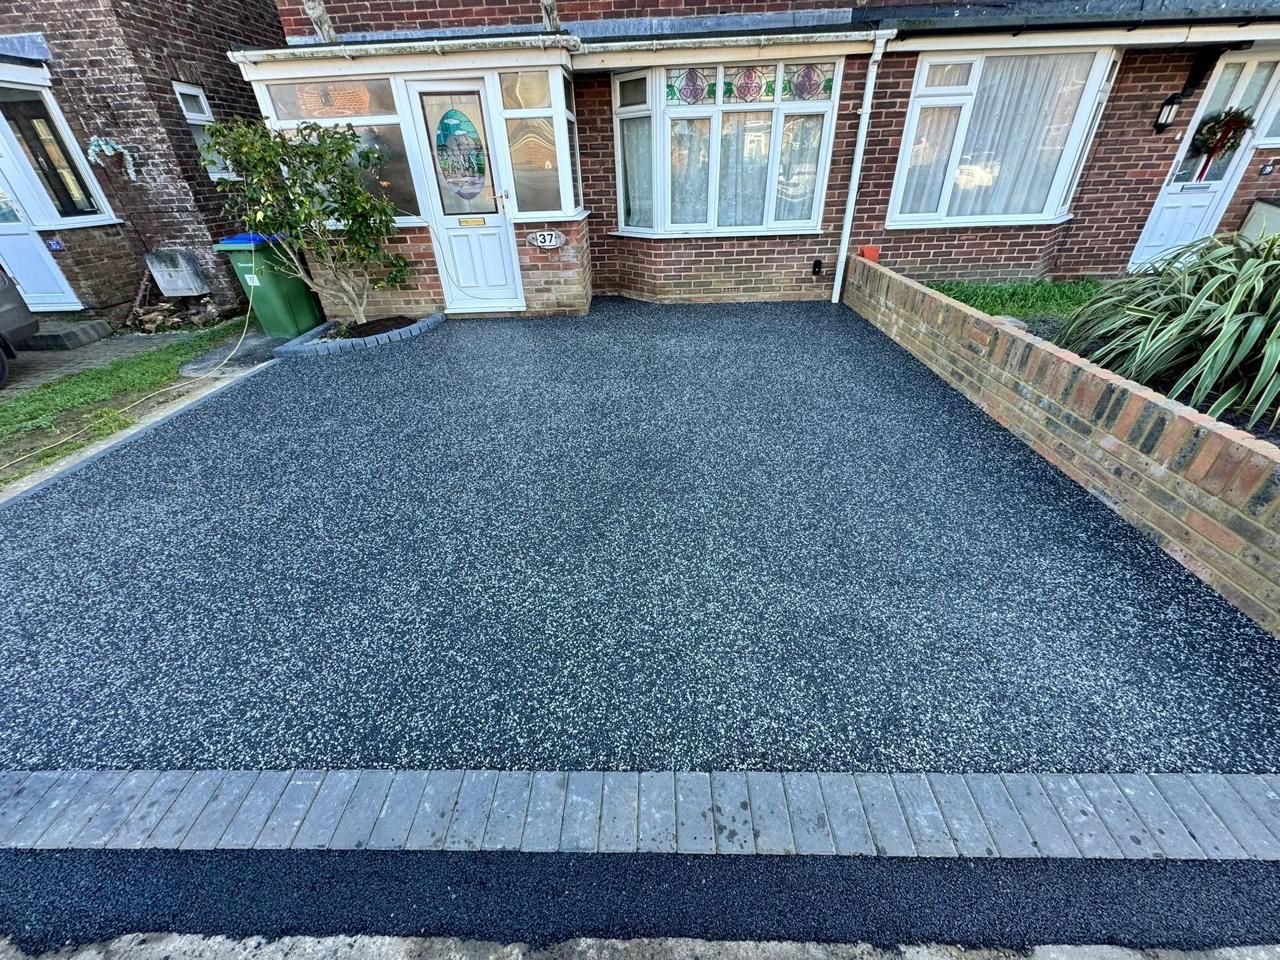
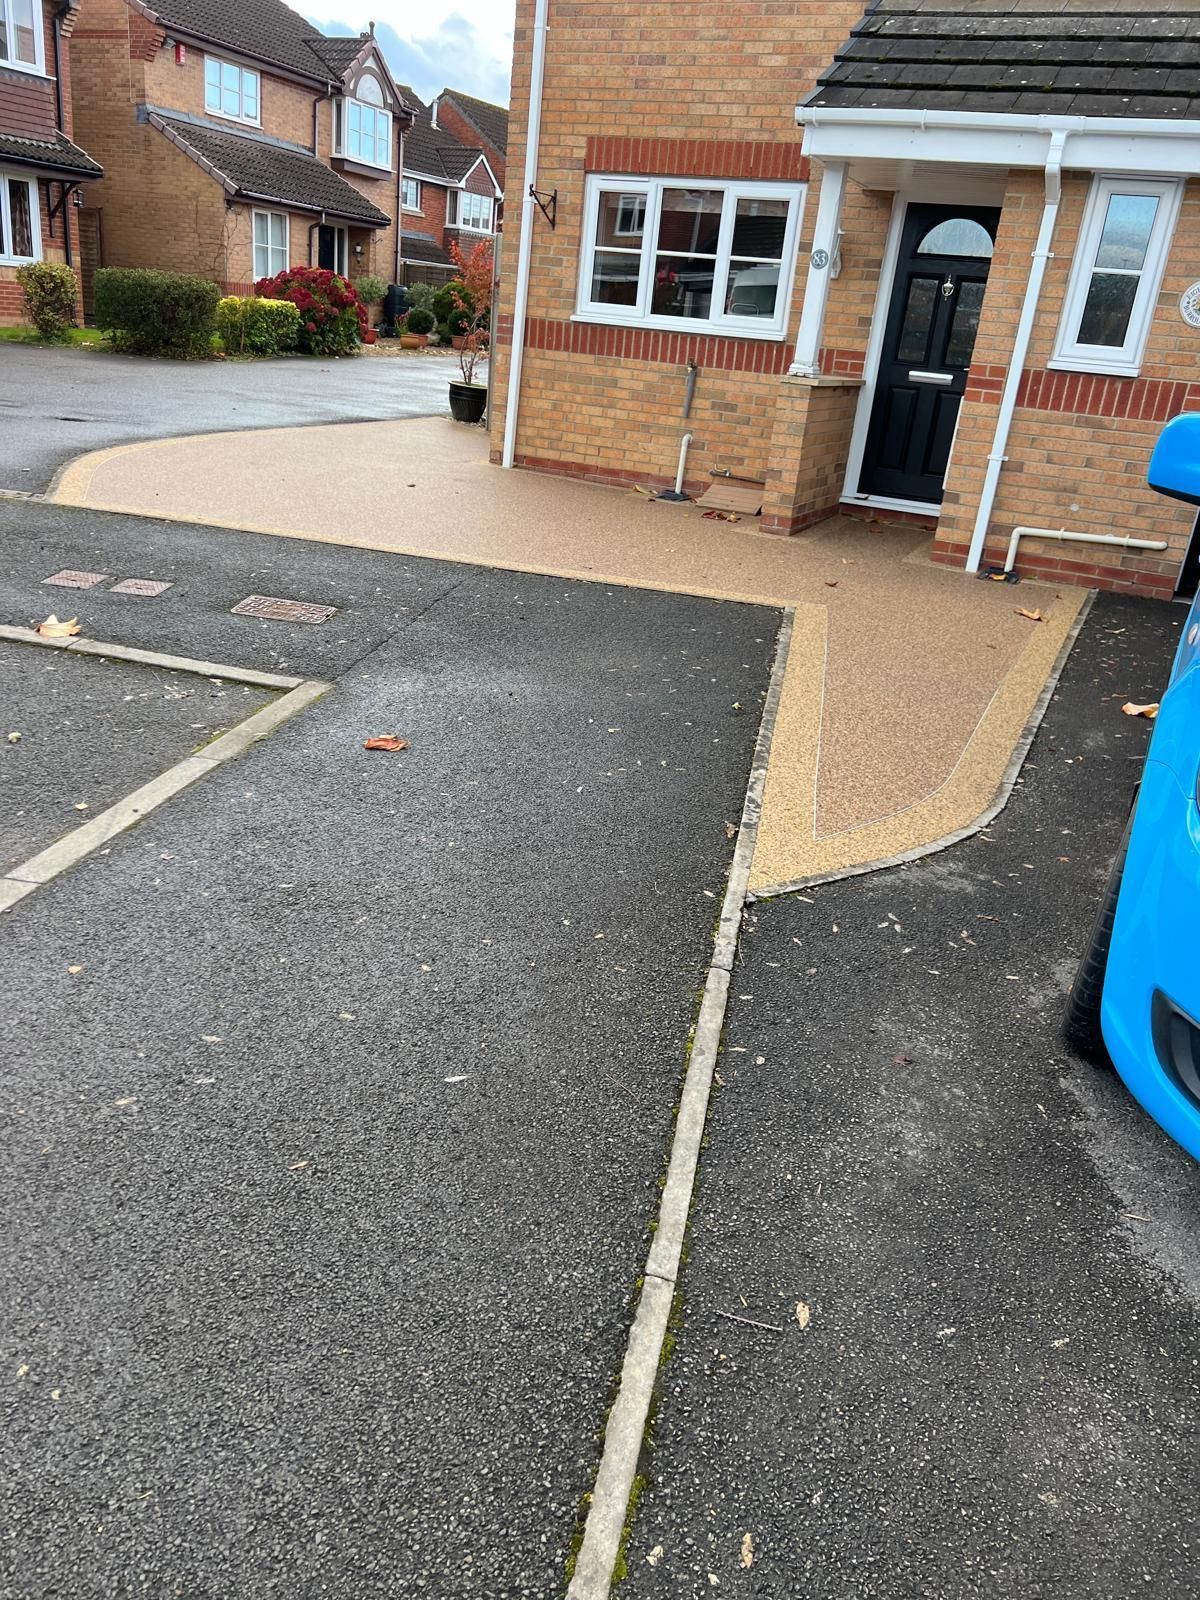
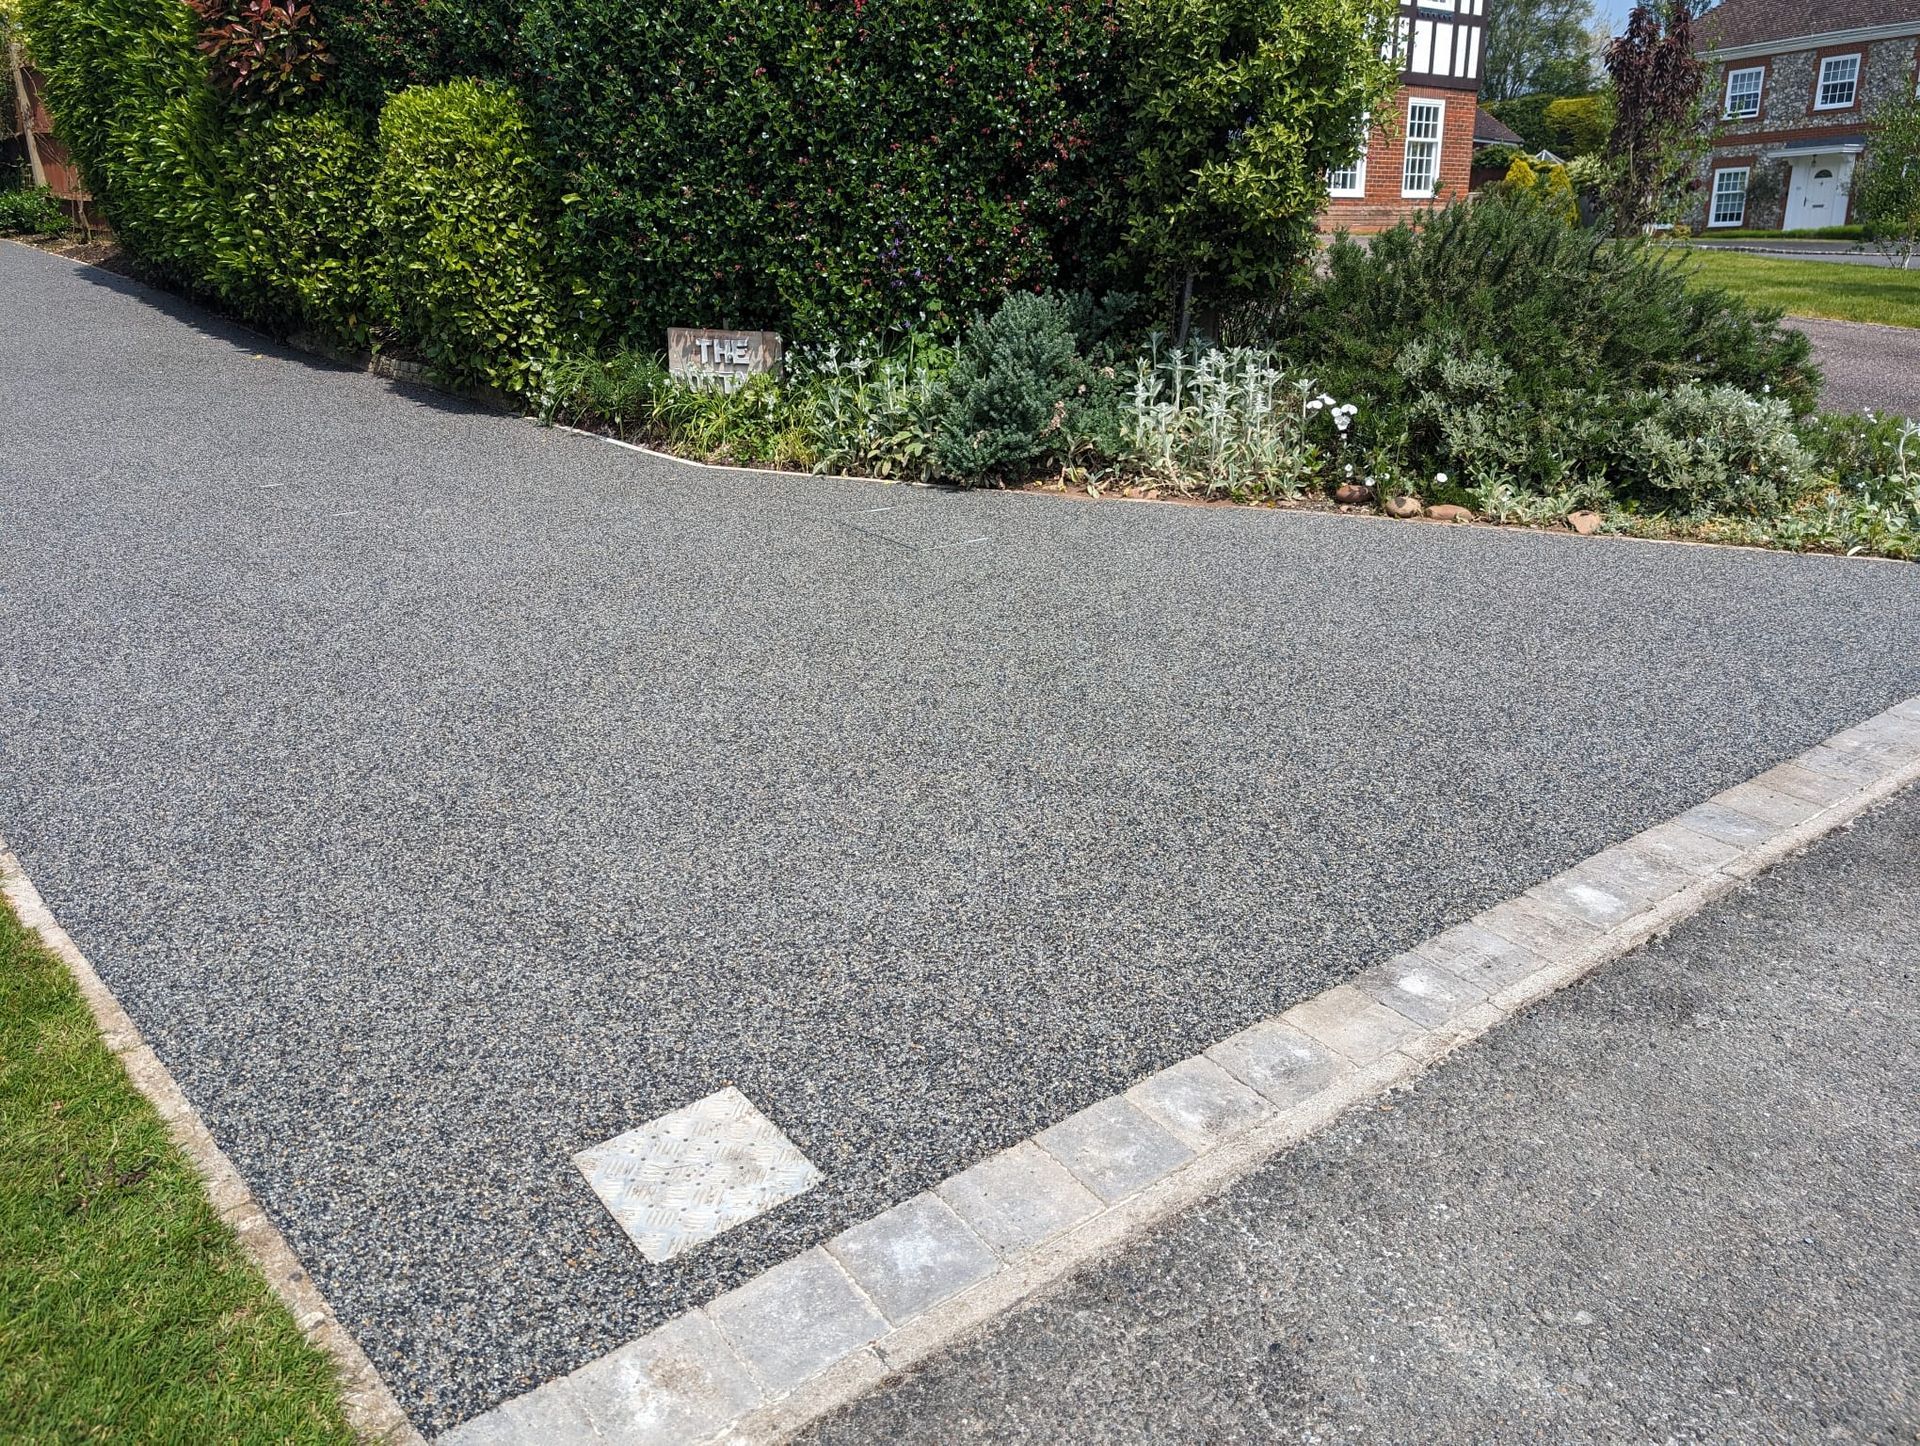
The mixed resin and aggregate are then spread evenly across the prepared surface. Skilled installers use specialised tools to achieve a smooth, level finish. This step is crucial in creating a permeable driveway installation that allows water to drain through effectively.
Step 5: Finishing Touches
Once the main surface is laid, the edges and intricate areas focus attention. This might involve using resin-bound material to create neat edges or incorporating decorative borders.
Step 6: Curing Process
After the resin driveway installation is complete, it's essential to allow adequate resin driveway curing time. This typically takes 24-48 hours, during which the surface should not be walked or driven.
UV Stable Resin Installation
For long-lasting results, many installers use UV-stable resin installation techniques. This helps prevent colour fading and ensures your driveway maintains its appearance for years.
While
DIY resin driveway
projects are possible,
professional resin driveway laying often yields superior results. Experts have the necessary equipment, experience with
resin-bound aggregate mixing, and knowledge of proper application techniques.
Understanding this resin driveway installation process lets you make informed decisions about your new driveway.
Whether you choose a DIY approach or hire professionals for your project, a well-installed resin-bound driveway will provide a beautiful, durable, and low-maintenance surface for your home.
You might also like
Resin Driveways Bristol